Commonly known as a Canadian Smocking Pillow. I got the idea from Christine McConnell and this video of hers. I don’t yet have a sewing machine at my new place so I thought I could find a project I could do by hand. It was quite easy but time consuming. Here is the final result.

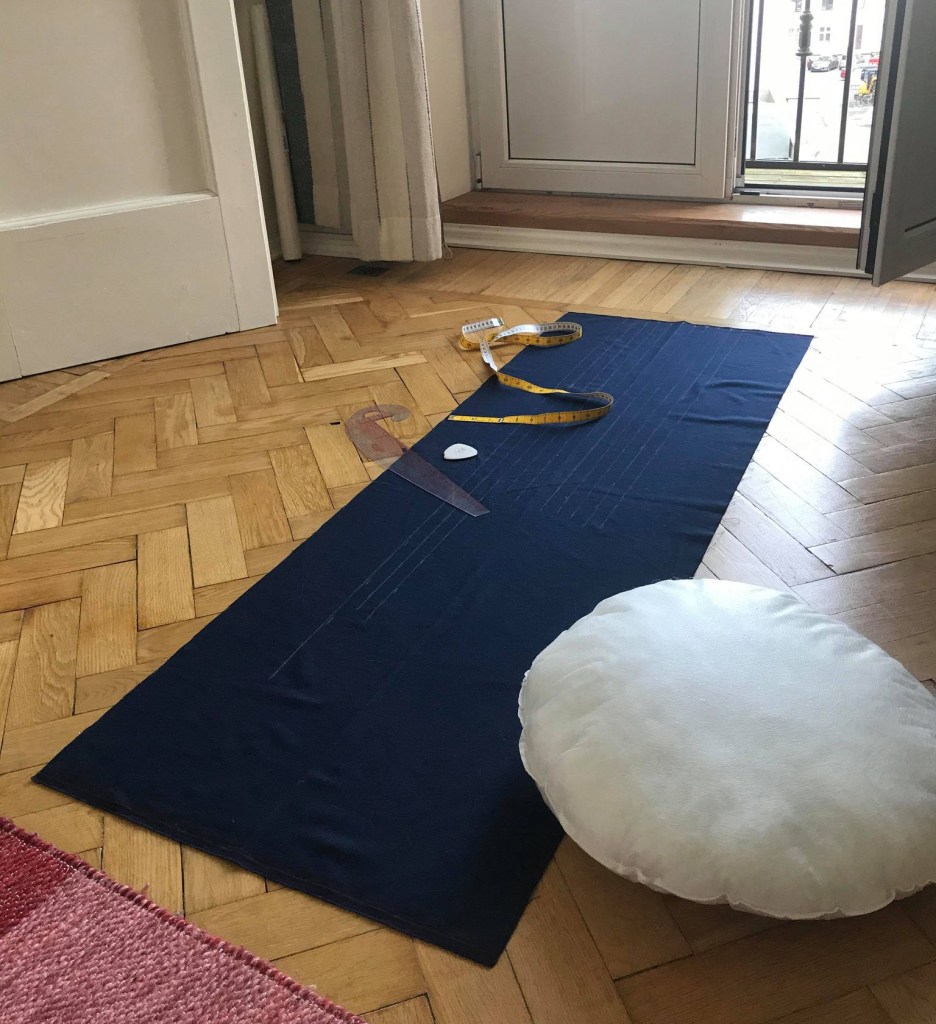
First I found this fabric at a store called Solveig, here in Tallinn. This Velour is made from Cotton and Viscose. It took 150cm by 60cm of fabric. The round pillow was found at a store called Abakhan. They are quite common to find at any crafts or fabrics store.
Next step is drawing the grid on the wrong side of the fabric. Each square is 1 inch square (1″x1″). I drew diagonal lines to indicate the direction of the stitches. The grid looks like this from close up. About 5,5 inches are left on each side of the grid.

After the grid is drawn, it’s time to stitch by hand. I don’t exactly know how much time it took in total, I was working on it sporadically over a few days. The final steps are to stitch the ends together to close the tube, fit the pillow in the tube, make the creases and stitch them all together and finish with a button. I covered the button with the same Velour. Voilà!

If I had to do it again, I would draw the grid and then stitch the tube closed and then stitch the lines in the grid. I thought it was a bit messy to finish the tube after making all the stitches. Just a little tip to make it easier and have a cleaner finished look.
